
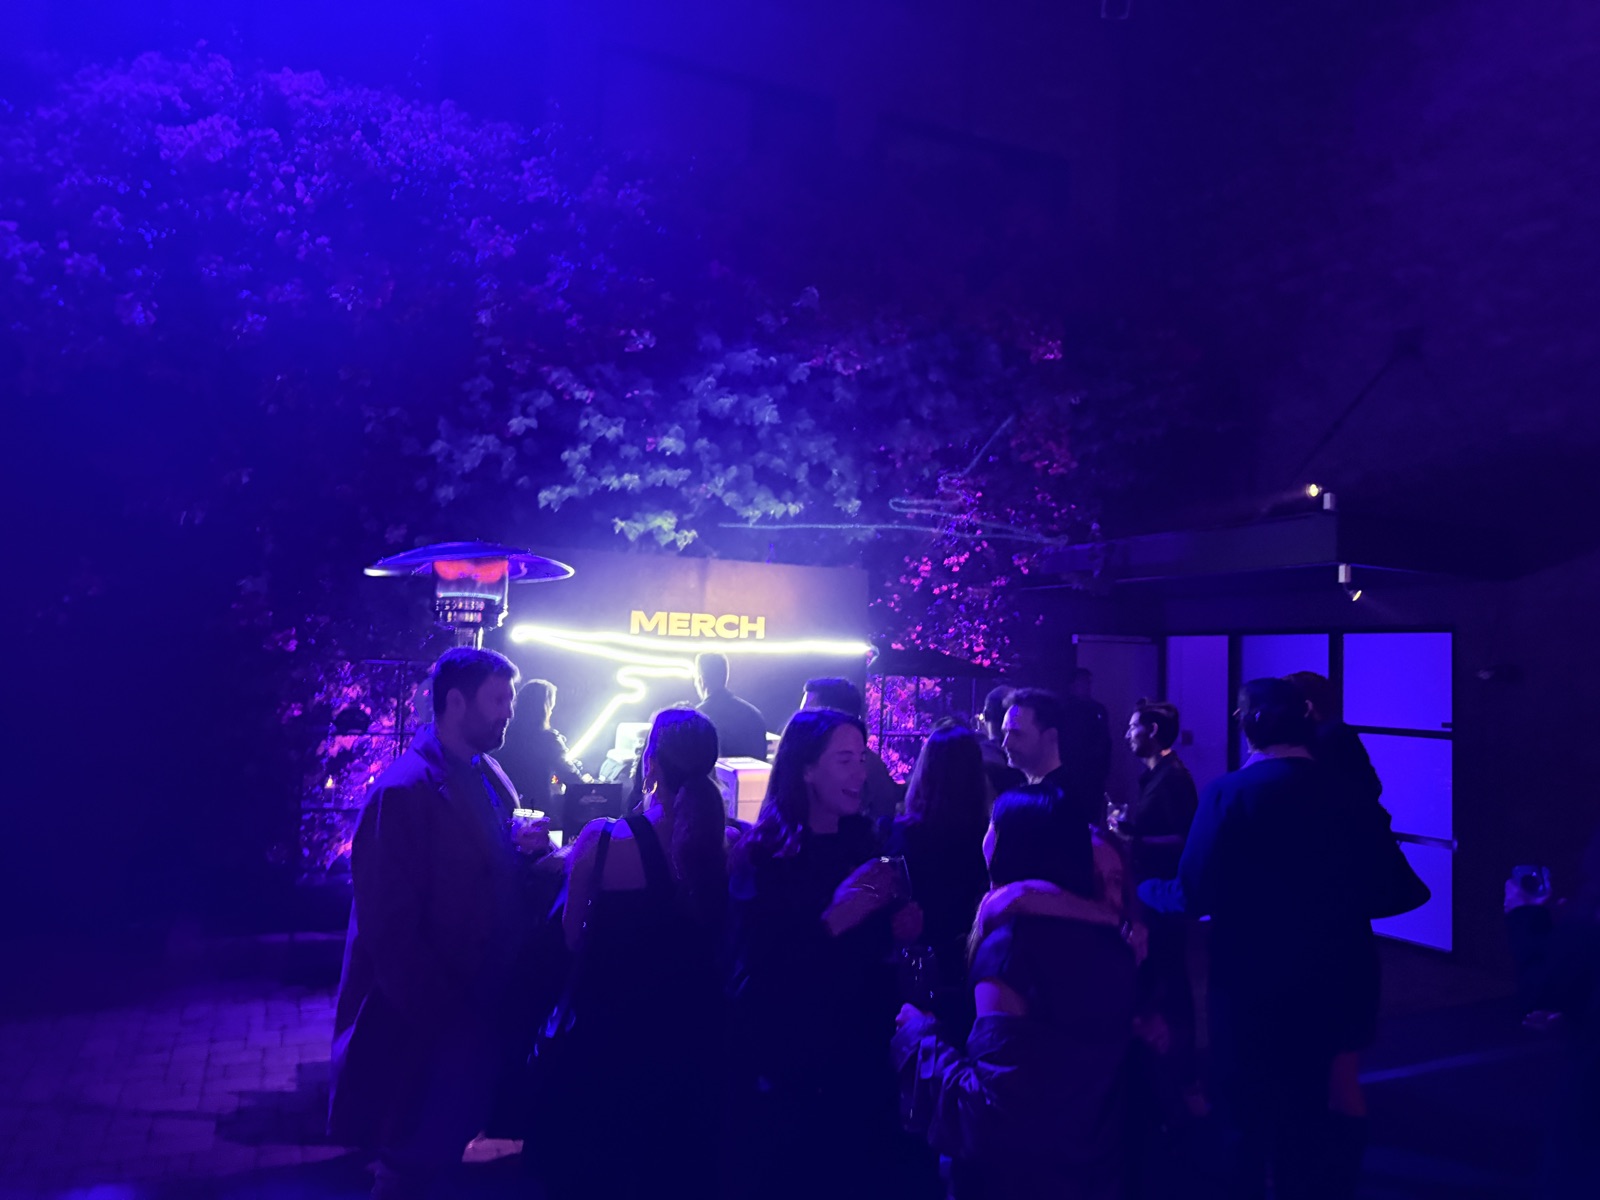
Learning how to plan a live printing activation is mostly a matter of getting seven decisions right in the correct order. A live printing activation is an on-site station where guests watch their merch get made — a shirt pulled on a press, a jersey personalized with their name, a tote pressed while they wait — and it works because the making is the marketing. But the difference between a booth that draws a line all day and one that jams up by hour two is almost never the printing. It's the planning: the timeline, the throughput math, the power drops, the artwork deadline. This guide walks through each step the way an experienced planner would, so you can brief a vendor intelligently and budget with confidence.
Why brands keep choosing live printing
The category is growing for a reason. The global experiential marketing market is projected to reach $55.53 billion in 2026, and 87% of event attendees share their experiences on Instagram. Brand-side confidence is holding, too: Event Marketer's EventTrack 2026 report found 98% of brands say event ROI is steady or improving, with lead generation still the top priority. Live printing converts that impulse into something durable: a guest who watches their shirt get made photographs the process, wears the result, and carries your logo out of the venue instead of into a hotel trash can. For a fuller picture of how the format works end to end, start with our complete guide to live event printing. What follows is the planning layer on top of it.
Step 1: Define what the activation is actually for
Before you pick a method or a blank, name the goal in one sentence. The four common ones pull in different directions:
- Lead capture — the print is the incentive, so the queue needs a scan or form step built into it. Our breakdown of live printing for trade show booth lead capture covers this pattern in detail.
- Social amplification — the station needs to be visible, photogenic, and well-lit, with the press facing the aisle rather than tucked behind a wall.
- Employee or member appreciation — personalization matters more than volume; people want their own name on it.
- Product or brand launch — the artwork carries the message, so full color and design variety win over raw throughput.
Write the goal down. Every later decision — method, station count, blank, staffing — should be traceable back to it.
Step 2: Lock the date and book early
Live printing is a crewed service, not a product you order. That means the calendar, not the budget, is usually the binding constraint. The working rule across the industry: book 8 to 12 weeks out for large events or peak-season dates, and 4 to 6 weeks for smaller activations. Rush bookings happen, but they cost more and narrow your options on blanks and crew.
A realistic timeline looks like this:
- 8-12 weeks out: scope the activation, get a quote, hold the date
- 4-6 weeks out: confirm method, station count, and blanks; sign and deposit
- 2-3 weeks out: final artwork delivered, proof approved, size curve locked
- 1 week out: venue logistics confirmed — load-in window, power, footprint
- Day of: setup 2-3 hours before doors
Step 3: Choose the printing method
Method follows goal. On-site screen printing is the high-volume workhorse: once screens are burned, each pull is fast and cheap, and the rotating press is the most watchable machine at any event. It's the right call for one or two hero designs in front of a big crowd. Live DTF printing goes the other way — unlimited colors, photo-real detail, and instant artwork swaps, which makes it the only practical choice when guests want their own name, number, or design variation. Live embroidery and laser engraving sit at the premium end: slower per piece, but the finished keepsake reads as expensive, which suits executive summits and VIP lounges.
If you're torn, our full comparison of screen printing vs DTF at events breaks the decision down across cost, speed, durability, color, and personalization. The short version: high volume plus limited colors means screen print, personalization means DTF, and the strongest activations frequently run both — a fast lane and a custom lane side by side.
Step 4: Do the throughput math
This is the step most plans skip, and it's the one that determines whether your line moves. A single staffed station handles roughly 40 to 120-plus guests per hour depending on method and design complexity. The mistake is dividing total attendance by total event hours. Real crowds don't arrive evenly — they surge when the keynote lets out and the show floor opens.
Size to the peak instead:
- Estimate the share of attendees who will engage — 20% to 40% is a reasonable planning band for a visible, well-placed booth.
- Identify your peak window (usually 1-2 hours) and assume a large share of engagement lands there.
- Divide peak-window demand by hourly station capacity. That's your station count.
- Add a buffer if artwork is complex or personalization is per-guest.
Example: 800 attendees, 30% engagement, so about 240 pieces. If half of that hits a two-hour rush, you need roughly 60 pieces per hour. One station covers that for a simple design; personalized full-color work at that pace wants two. The throughput answer page has more worked examples, and it's also worth noting that live printing generally becomes cost-effective around 75-plus attendees — below that, a pre-printed station or a premium keepsake method usually delivers more per guest.
Step 5: Confirm the venue logistics
Venue details sink more activations than any creative decision. Nail these before you sign anything:
- Footprint: roughly 100-150 sq ft per station, plus queue space and a garment display. A 10x10 booth fits one station comfortably; two stations want a 10x20.
- Power: a dedicated 20-amp circuit per station. Shared circuits trip breakers mid-rush — this is the single most common day-of failure.
- Load-in: confirm the window, dock access, elevator dimensions, and whether the venue requires union labor.
- Environment: outdoor and tented activations need stable, level surfaces, shade, and ventilation. Heat and humidity affect curing and adhesion.
- Placement: put the press toward the aisle. The machine is the advertisement.
Our venue requirements page is a useful thing to forward to your venue contact directly.
Step 6: Finalize artwork and blanks
Deliver artwork as vector files with fonts outlined, two to three weeks before the event. Screen printing needs separated colors and enough lead time to burn screens; DTF is more forgiving but still benefits from clean, high-resolution files. Approve a physical proof — screen colors lie, and ink on cotton is the only real preview.
On blanks: choose two or three styles rather than a dozen, and weight your size curve to your actual audience rather than ordering evenly across S-3XL. Running out of mediums at hour two is a worse outcome than a small overage. If your goal is merch people keep, spend the extra dollar or two per unit on the blank — guests notice garment quality far more than they notice print method. Our zero-waste event merch piece explains why printing on demand also eliminates the leftover boxes that usually follow an event home.
Step 7: Build the run of show
Map the day to the hour: load-in, setup, soft open, peak coverage, restock breaks, teardown. Two staffing notes matter more than people expect. First, assign a queue host — someone whose only job is talking to the line, taking design choices, and handling lead capture. A host lifts effective throughput because guests arrive at the press already decided. Second, plan restock and cleanup breaks into the schedule rather than hoping for gaps; presses need attention, and a crew that never pauses degrades by hour four.
Finally, define your measurement before doors open. Pieces printed, leads captured, social tags, dwell time — pick two and instrument them. Experiential spend is easier to renew when you can show the number.
What it costs
Most live printing activations are quoted as a package: setup, equipment, staffing, travel, and a set number of printed pieces. Industry flat fees in 2026 commonly range from roughly $800 for a small single-station setup to $5,000 and up for multi-station or multi-day events. The variables that move the number are station count, crew size, event length, travel distance, and blank quality — not the print method itself. Our pricing page walks through how those pieces combine, and the cost answer page covers the common quote questions.
Bringing it together
A live printing activation is a production, not a purchase. Define the goal, book with real lead time, match the method to the goal, size stations to your peak hour, confirm power and footprint in writing, lock artwork early, and run the day to a schedule. Do those seven things and the printing takes care of itself. Our case studies show how this played out for brands like Riot Games, Coca-Cola, Hyundai, and Sony — different goals, different methods, same planning spine.
Tell us your event date, city, expected guest count, and what you want people to walk away with. We'll recommend the setup and send a tailored quote within 24 hours.